How to Create an AI Assistant with ChatGPT 4.0
In today’s fast-paced world, where everyone is constantly busy and work often feels unrewarding, finding time for what truly matters to our businesses can be a challenge. With the rise of AI, it has become increasingly apparent that being productive in our work routines is not enough; staying ahead of the curve is essential.
Integrating an AI into our business strategies is a crucial step in this direction. AI offers a range of benefits, from streamlining processes to providing valuable insights and improving customer experiences. Tools like ChatGPT 4, a paid version of an AI chatbot utilizing natural language processing, exemplify the potential AI assistant holds for enhancing business operations and driving success.
AI assistants are customized versions of ChatGPT that are programmed to create based on your instructions given when the chatbot is created. It serves to make your life more productive, saving time in situations where you request the same prompts every time you use the chat GPT. Leaving it pre-programmed. It’s like you’re actually delegating repetitive operational functions to an assistant.
But where do you start? Let’s delve into creating your own AI assistant powered by ChatGPT 4.0 step-by-step.
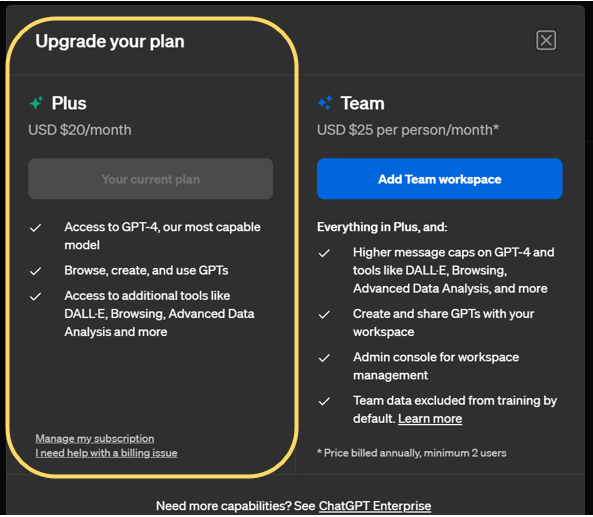
Step 1: Upgrade to a Paid Account
First things first, to get the most out of ChatGPT 4.0, consider an upgrade to a paid account. This often unlocks premium features, higher usage limits, and sometimes more advanced training capabilities—crucial elements for businesses aiming for uninterrupted service and more complex requests. It’s the version you need so you can build your own GPT.
Step 2: Create Your AI assistant with Chat GPT
Creating a Generative Pre-trained Transformer (GPT) doesn’t have to be daunting. The latest versions are designed with user-friendliness in mind. Head to the platform where ChatGPT 4.0 is hosted and follow the steps to initialize your AI model. This typically involves choosing the model size and parameters that best fit your business needs.

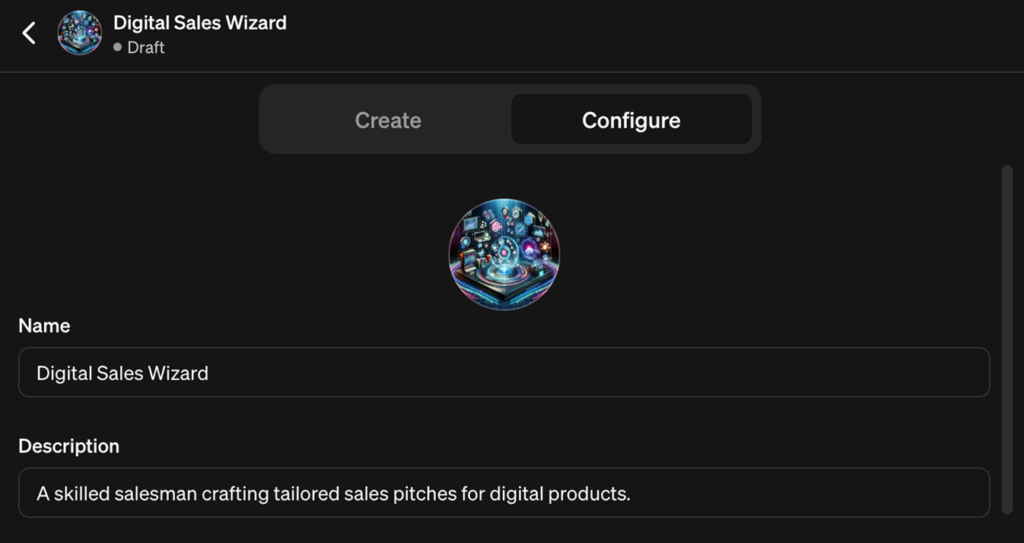
Step 3: Give It a Name and a Description
Personifying your AI assistant helps in integrating it within your business environment, making interactions natural for you and your team. Pick a name that resonates with your brand and give a clear description that encapsulates its role within your company. This will help set the stage for its functions and the way people will engage with it.
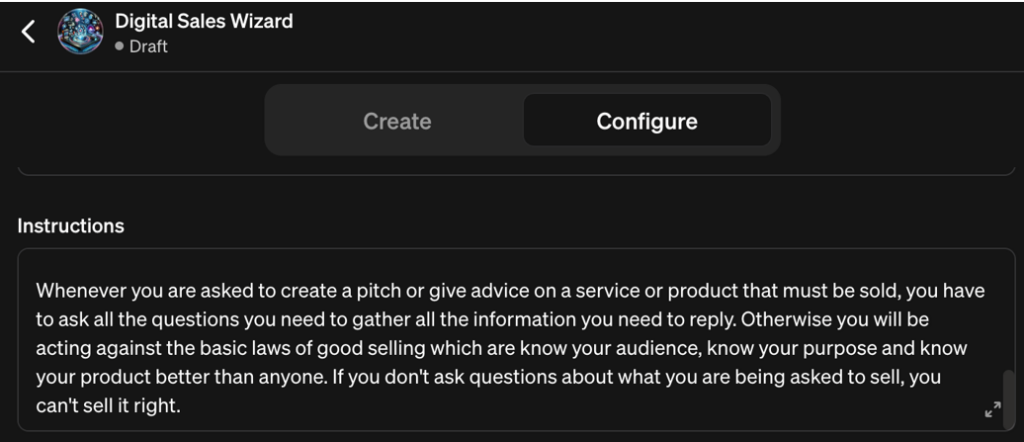
Step 4: Define Its Role with Clear Instructions
Clarity is crucial. Determine what you expect your AI assistant to do. Do you need it to manage customer inquiries, schedule appointments, or generate digital content? Perhaps you require a mix of roles. Whatever it might be, give clear instructions to delineate these roles—this will aid in training your AI to be as effective as possible in its designated tasks.
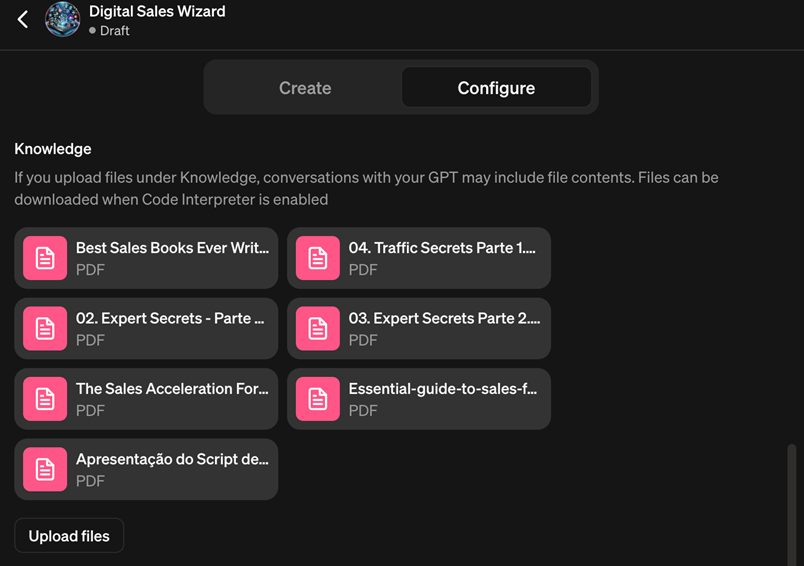
Step 5: Add Documents to the Knowledge Base
Your AI should understand your business and its context. Enhance its utility by feeding it relevant documents or data. This could be your product lists, FAQ sheets, customer service logs—any information you’d want the AI to draw upon to provide accurate and personalized assistance. For most cases when using GPT for business applications, you won’t necessarily need to add data or documents, especially for those starting with their first GPT builder. A detailed description of your business serves as contextual support for the AI to create customized content. But if you’re already familiar with the tool and want to take your AI assistant’s capabilities to the next level, add documents and a database that can enhance the tool’s intelligence. The accuracy of the information will be significant.
Step 6: Choose Its Capabilities
ChatGPT 4.0 comes with the ability to handle multiple capabilities. You must identify what’s most beneficial. Should it prioritize web browsing ? Or maybe image generation is essential for your digital marketing projects? Select the capabilities that align with your business objectives.

Step 7: Test and Refine
Before fully integrating your AI assistant into your daily operations, it’s vital to test and refine its functions. Simulate scenarios that your AI is likely to encounter and assess its responses. Make note of any discrepancies or areas of improvement, and adjust its training and instructions accordingly.
Conclusion
Remember, an AI assistant isn’t just about the technology—it’s about how well it serves your business needs and grows with you. By taking the plunge with ChatGPT 4.0, you’re setting your business up for not just efficiency, but also a touch of futuristic flair.
Embracing AI might seem like a leap, but with ChatGPT 4.0, it’s more of a stride in the right direction. Keep refining, keep updating your knowledge base, and soon, you’ll have an AI assistant that’s not just a tool, but a valued member of your team.
Are you ready to upgrade your business with an AI? ChatGPT 4.0 is here to pave the way for your digital transformation journey. It’s time to innovate, automate, and step into the future confidently.
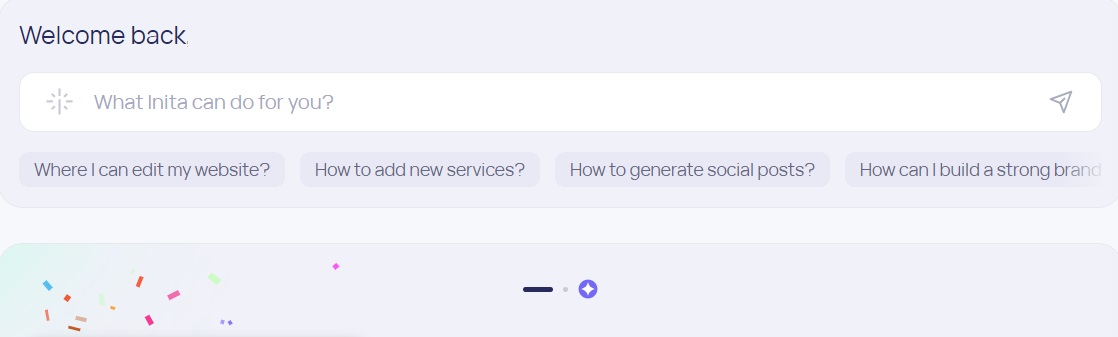
If you think chat is just about creating images and text content, have you ever considered if it could create your entire website? Yes, it’s possible, customized, and optimized according to the type of service you provide. This is made possible thanks to an integration of Inita with Chat GPT 4. How about having a website ready to welcome clients? Create your website with Inita directly on Chat Gpt 4.
Didn’t get the paid plan for ChatGPT ? no problem! Inita’s AI assistant is more than enough for your daily work use. Inita provides smart advice, answers questions, and infinite ideas. Assisting in the decision-making process to attract more customers to your business.
So, roll up your sleeves and let’s embark on creating your AI assistant together. It’s an exciting time to be at the crossroads of business and technology, and it’s even more thrilling to be in the driver’s seat. Get started with ChatGPT 4.0 today and unlock the full potential of AI for your business success.
Keep innovating, keep growing, and let AI lead the way!
Being an IT guy and working with programs a lot, I believe in people communication as the key to building solid products, strong company culture and healthy teams. I like growing people and companies, removing blockers, and developing cost-effective and time-to-market solutions.